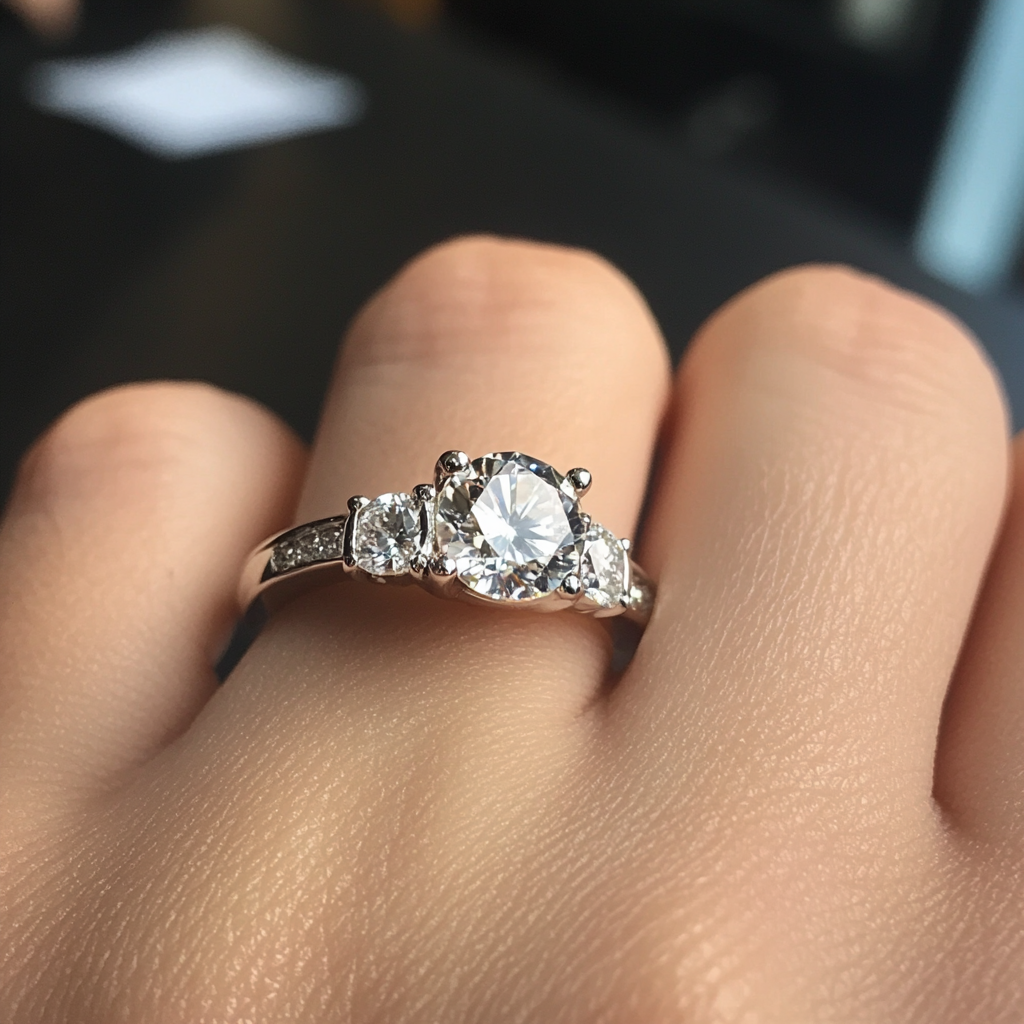
shape
carat
color
clarity

Idea for STD...

Status
Not open for further replies. Please create a new topic or request for this thread to be opened.
Hi everyone!

How about this idea?....I just created a template on word. I like this better because I can use regular enveloped and not pay extra postage...hehe

I can put velum or lacy paper in between each one (so total of 5) so that when it opens it really does look like a fan.

I edited to get rid of the names, etc...the actual fonts are prettier :)
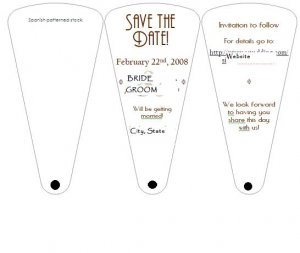
fansample-.JPG
 
AWESOME. I love the idea of vellum/lace in between to give it that fullness. And saving $$ on postage is always a bonus!
 
Date: 6/15/2007 1:03:42 PM
Author: enbcfsobe
AWESOME. I love the idea of vellum/lace in between to give it that fullness. And saving $$ on postage is always a bonus!

Yes, I definitely didn''t wnat to spend extra $ on postage!!!.

I think this is nice, I''m still playing around with the fonts..there are so many options! hehe.

Is there any other type of info I need to give on the actual STD?.

Thank you for all your help enb!!

M~
 
I love it! I think lacy looking paper would look great, and make it clearly look like a fan. Just make sure you don''t go over weight for a letter--that would defeat the point of saving on postage!
 
Date: 6/15/2007 1:23:25 PM
Author: laine
I love it! I think lacy looking paper would look great, and make it clearly look like a fan. Just make sure you don''t go over weight for a letter--that would defeat the point of saving on postage!
lol, good point! I will look for a thinner paper for the "in between"
2.gif


I think this weekend I may do a "trail run" and then I can find an envelope and weigh it at the post office to make sure!!

Thank you guys! You definitely "waken" my creative side! I''m an engineer but I''ve always loved crafts, painting, dancing, etc...so this is going to be a great little project!!!!

36.gif


M~
 
Hi Mandarine,

I was just searching the posts for STD ideas and came across the fan idea you came up with. Did you ever get it worked out, and if so, how did they look? Would it be possible to get the template you made? I, too, would like to save money and have them fit into a regular size envelope, but my computer skills are apparently negligible! Any help would be much appreciated!
 
That''s so funny, I was about to [post an "update" regarding this!

I have finalized the design!. Don''t have a digital camera right now (FI took it on his trip)...but it turned out great!. I just have to print them and put them together! :)

I wouldn''t mind sharing the template...but how do I send it to you?? (It''s in power point)

M~
 
Maybe you could send it to Andrey and he can pass it on???
 
Hooray for you! I'm so glad you got them done...lucky might be right in having them sent through Andrey.

Thanks for getting back to me! Can't wait to see how they turned out!
 
Date: 6/14/2007 11:13:25 AM
Author: Mandarine

Date: 6/14/2007 11:03:58 AM
Author: sumbride
The fan with fabric sounds great! You can get grommets at the craft store. I think it involves a hammer and a punch. It looks much fancier than it is hard to do.

A hammer and a pucnh sounds a little dangerous! hehe....My friend said she thinks there is actually a ltitle thing you can buy to put those on, no idea how much that would be, but it may be safer! hehe

M~
Scrapbookers call the metal rounds - Eyelets. Just so that when you go to Michaels you can check out eh scrapbooking section and look for them. They come in all shapes and colors (like you can ones that will bein the shape of a heart!) And the "hammer and punch" set, the one I bought was about 30 bucks I think. But find one of those 40% off coupons for michaels (mine usually comes in the Sunday newspaper) and you can save. :D

It''s not hard to use, basically you use a hole punch like thing to make the hole, and then take the "setter" (not sure what it''s actually called) but it basically presses the back part of the eyelet down. And then if you have the hammer you use that to just hammer it down, so it''s flatter and more flush to the page. i''m a scrapbooker and do it al lthe time, practice once or twice on scrap paper, though, but onc eyou get the hang of it it''ll be easy!

Also, sometimes it doesn''t let the paper swing that well if you secure TOO tightly. Just something to think about.
 
Eyelets can get expensive if you can't get them in bulk.. they can also be time consuming and annoying if they punch incorrectly... believe me, I've made enough invitations to know.

Think about getting some matching round stickers to reinforce your hole punch, and punch a hole through those.. then attatch a brad. I also thought instead of buying lace, you can buy a black ink pad and a large lace stamp. It'll save on the weight.
 
Hi Mandarine...

Just checking in to see how these turned out...I went to a bridal fair on Sunday and saw a fan invitation and program much like what you had done, and it was just awesome! I instantly thought of you, so thought I would check in!
 
Date: 8/10/2007 2:43:21 AM
Author: Harleigh
Hi Mandarine...

Just checking in to see how these turned out...I went to a bridal fair on Sunday and saw a fan invitation and program much like what you had done, and it was just awesome! I instantly thought of you, so thought I would check in!
Hi!!! Sorry, I know I said I would send this to you but I''ve been crazy busy!. I messaged Andrey to see if I can send the attachment to her and she can send it to you :)

I have to take pictures to post. I''m not done yet with them yet, but should be getting done this weekend!
36.gif


M~
 
That''s okay, Mandarine...I was just checking to see how they were coming along!
 
Hi Harleigh! I sent the template to Andrey (PS Admin)...he was going to post them for you. Maybe send her a message to see if she can forward you the template :)

M~
 
Hi Everyone,

Attached is the power point of the fan template. Right click on the attachement and click on save target as.

It is located at the center bottom of my post.

Andrey
PS Admin
 

Attachments

Hi Mandarine!

You''re just awesome! Thank you so much for sharing! How on earth you made those so perfect, I will never know, but I tried drawing them out and ended up with some crazy looking, um, well, fan blades!

Thank you, Andrey, for making those available to us! You are the best!
 
Thank you Andrey!

Harleigh,

I hope that helps!!. Here are some instructions. I will take pictures of mine later today (I was actually going to do it just now but the battery in the camera died!).

There is a symbol that shows in all the pages as decoration, but this may show as an "f" if you don''t have the font I used for the symbols ("Floralia" I think)...but you can download it for free and add it for decoration.

This template as it it shown would make 2 invites. All you have to do is cut them and cut the same shape in decorative card stock (mine is all very floral and very spanish). Then the decorative paper goes first, then the date, then the announcement and the website page would be last. I used the cutting tool they have at Kinkos for the straight edged and I cut the rest by hand. A little time consuming, but I just took my time and took breaks, etc.

I am then using a brad to hold them together on the bottom and will tie a small ribbon around the top, to keep the pages together within the envelope. I was going to use an eyelet but found that this wouldn''t allow for much movement so it wouldn''t open as a fan.

I am using 8.5x11 cardstock paper since it''s the easiest way to print. I printed everything out in Kinkos for about $5 and they turned out great!.

I hope this helps
9.gif


M~
 
Oohh...I''m crafty, but we''ll see if I can pull this one off!

I would love to see pictures if you get time to post them.

Thank you!
 
Status
Not open for further replies. Please create a new topic or request for this thread to be opened.
GET 3 FREE HCA RESULTS JOIN THE FORUM. ASK FOR HELP
Top