shape
carat
color
clarity

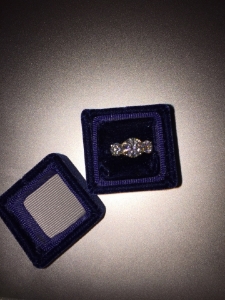
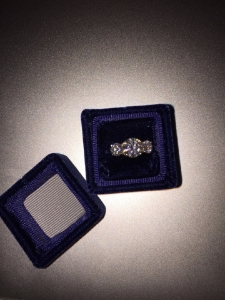
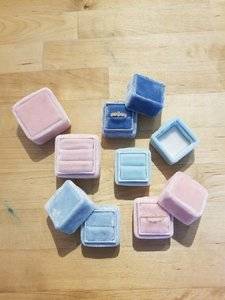
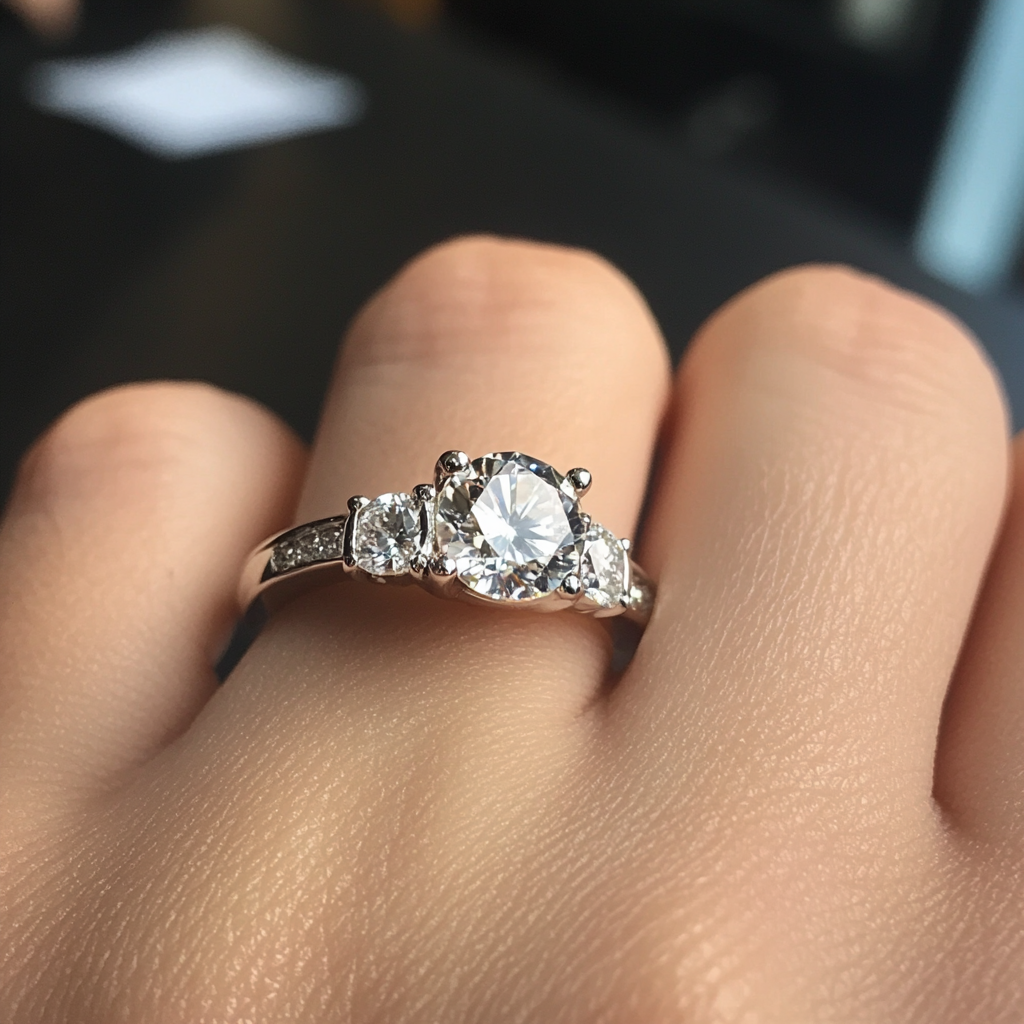
My handmade velvet ring box and cushion halo earrings

junebug17|1434207187|3888746 said:
Thanks everyone! I'm working on a coral one now, I think my favorite part is buying different colors of velvet ribbon.

Yanaazul, yeah, sometimes I have to resort to a different color for the ribbon, I can't always find a matching color.
That box turned out terrible. You should probably send it to me and I'll throw it away for you :naughty: :lol: ::)
 
junebug17|1434054882|3888026 said:
Here's a green one I did recently -

Beautiful junebug17!!! :)
 
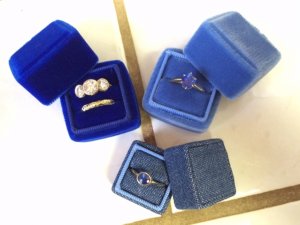
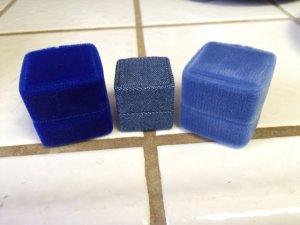
I finished my cobalt velvet box, here it is with the cornflower velvet and the denim teeny box. Something obvious in retrospect, choosing ribbons in my favorite vivid blue colors means that my sapphires blend in to them... I'll have to make a baby blue box so there's more contrast.

yanaazulcobalt.jpg

yanaazulcobalt2.jpg
 
Wow that looks beautiful Yanaazul!! Love the color!
 
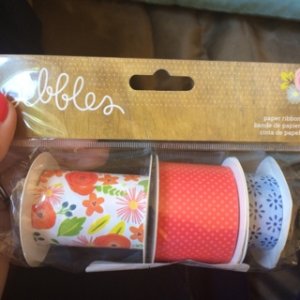
Well, I tried! I used satin ribbon, which I think made this more difficult. I am also not the best at following directions, but the photos helped. I have a lot of ribbon so may try a second attempt. I also found some pretty "paper ribbon" so may use that instead as I am better at folding than sewing. [emoji39]

imageuploadedbytapatalk1434823807.jpg

imageuploadedbytapatalk1434823826.jpg

imageuploadedbytapatalk1434823835.jpg
 
That looks really good rubybeth, very nicely done! :dance:
 
These are all so beautiful!

It's great that there's a pattern that you guys created so we can all make some. I wonder what they would look like using bleached belgian linen or vintage glove leather. This looks like such fun!
 
emmebee|1434069197|3888117 said:
Oh my gosh!! Junebug and yanaazul, yours are gorgeous!! :love: Sorry if I missed it, but are either of you making them for resale yet?? :naughty: :naughty:

junebug & yanaazul, just following up.. did you guys ever decide if you'd like to make for resale? :naughty:
 
emmebee|1438625339|3910544 said:
emmebee|1434069197|3888117 said:
Oh my gosh!! Junebug and yanaazul, yours are gorgeous!! :love: Sorry if I missed it, but are either of you making them for resale yet?? :naughty: :naughty:

junebug & yanaazul, just following up.. did you guys ever decide if you'd like to make for resale? :naughty:

Lol emmebee, my boxes look ok in the pics but honestly IRL there's something wonky about each one of them, so I'd feel weird selling them. They're just not that good. Yanaazul's and fussykiki's look perfect, they should sell theirs!
 
InsecureSweetGirl|1435031503|3892928 said:
These are all so beautiful!

It's great that there's a pattern that you guys created so we can all make some. I wonder what they would look like using bleached belgian linen or vintage glove leather. This looks like such fun!

Great idea about the vintage glove leather. I actually have a vintage Coach purse that I have been thinking of how to repurpose since I can't use it as a purse anymore. I might have to give it a try. :)
 
junebug17|1438626257|3910552 said:
emmebee|1438625339|3910544 said:
emmebee|1434069197|3888117 said:
Oh my gosh!! Junebug and yanaazul, yours are gorgeous!! :love: Sorry if I missed it, but are either of you making them for resale yet?? :naughty: :naughty:

junebug & yanaazul, just following up.. did you guys ever decide if you'd like to make for resale? :naughty:

Lol emmebee, my boxes look ok in the pics but honestly IRL there's something wonky about each one of them, so I'd feel weird selling them. They're just not that good. Yanaazul's and fussykiki's look perfect, they should sell theirs!

Aw haha well I think you're just being modest, but I do understand about having a higher bar for something you're selling! The ones you made really are lovely though :) and thanks for responding!
 
These are incredible!! :love: :love: You all are seriously talented. I can barely use a pair of scissors.
 
Hi I am unable to view the tutorial - please help!
 
kgrinnan|1438883163|3911892 said:
Hi I am unable to view the tutorial - please help!

Kgrinnan, the instructions are on page 3 of this thread, just scroll down about 7 posts. Have fun!
 
fussykiki|1431743130|3877328 said:
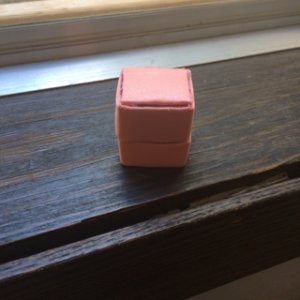
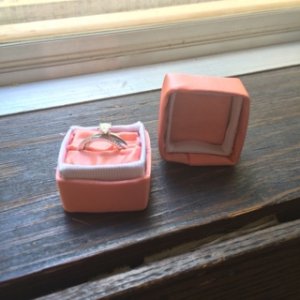
Okay, I will run out of rings soon....
Where did you get the velvet ribbon? Those colors are to die for and my daughter WANTS that pink.
I got her a teeny tiny diamond ring for her tenth birthday and would love to make her the box. Thanks for the tuto (even found the blog, thanks Pinterest) and will do my trial run tomorrow. Thank you Fussykiki.
 
So glad to discover this post and all the beautiful inspiration pictures. :clap: Thank you for the wonderful ideas!!!
 
Oh wow, Phanie. That first link was just generic, but the link you posted... :nono: And if you look at the sidebar, they have the other colors too. The ones that were "antique velvet", no? Not the new ones.

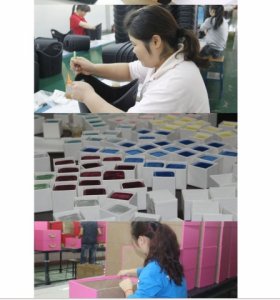
Here are a couple screencaps for those who don't want to click on the link. I'm really glad I'm making my own...

velvetboxmadeinchina.jpg

velvetboxmadeinchina2.jpg
 
I saw the posting a while ago and wondered if the box with the Mrs. logo had been a stolen photo.
 
Things don't quite add up.
In the first picture the lady is making a black plastic basket. The bottom picture the lady in it is making a huge... Cardboard storage box. The mrs box picture in the middle looks like a stolen picture that was inserted to look like it is related to this factory/company. The placement is quite smart but I don't think these pictures are theirs. Looks like the seller stole the picture from mrs box.
 
OCgirl|1446012993|3942905 said:
Things don't quite add up.
In the first picture the lady is making a black plastic basket. The bottom picture the lady in it is making a huge... Cardboard storage box. The mrs box picture in the middle looks like a stolen picture that was inserted to look like it is related to this factory/company. The placement is quite smart but I don't think these pictures are theirs. Looks like the seller stole the picture from mrs box.
I sure hope so.
 
I took a crack at this tonight and I think it came out... Okay. I'll try another one. I have a little too much glue in some spots and the foam inserts are a little wonky.image_3966.jpg
 
kb1gra|1446681459|3945827 said:
I took a crack at this tonight and I think it came out... Okay. I'll try another one. I have a little too much glue in some spots and the foam inserts are a little wonky.image_3966.jpg

Kb1gra, that's not just okay, it looks great; honestly, you did a fantastic job! :appl: And your ring…gorgeous! :love:
 
I did adjust the measurements so they're easier:

1. for each outer box I cut a strip 2" tall, 5" long. marked at 1 1/4" intervals for the 4 sides. the bottom is 1 1/4" tall and the top is 3/4". 2. the inner box is 1" base and the bottom is 1" sides, the top is 3/4" sides.

I found this easier to measure and cut than things like "1.8cm" and it also left me with less leftover ribbon fabric that made the inner boxes harder to fit.

That photo makes it look a little uneven due to the shadow, but it worked okay so I am going to make a lighter blue one I think.

And thanks for the ring flattery :) I need to make a few more to fit them all.
 
Hi Everyone!

I stumbled on this thread a couple weeks ago and have been having a lot of fun crafting these adorable boxes. There are some fantastic tips on this thread already and I just wanted to share some I've learned that might be helpful!

1. I found that the trick to have neater looking boxes is to make sure that the velvet is sewed to exactly to the right size which can be difficult. Game changer for me was when I started the use a binder clip to help me sew. You wrap the ribbon around and then use the binder clip to clip the ribbon and then sew. The added benefit is that your stitches will also be straight because the binder clip acts as a guide.

20180915_160648.jpg

2. I used a combination of hot glue and E6000 glue. The E6000 sets much slower so it gives you more time to adjust things to make everything neater. Also acetone gets the E6000 glue right off in case you smudge it on the fabric.

3. Trimming as much of the velvet as possible helped to keep the boxes from looking lumpy.

4. The boxes are cube shaped and the size is limited by the width of the ribbon. I used 1.5in ribbon and the exact measurements from fussikiki's instructions to make the smaller boxes. I bought some 2in ribbon and scaled everything up to make the larger box.

5. I made stencils so I wouldn't have to measure everything out every time.

20180917_173158.jpg
 
Hi @hsc9,
You boxes turned out fabulously!
I've tried making some myself but ran into challenges with the interior cushion. Any tricks or tips you can pass along on that part of the project?
 
Hi @hsc9,
You boxes turned out fabulously!
I've tried making some myself but ran into challenges with the interior cushion. Any tricks or tips you can pass along on that part of the project?

Hmmm let's see... I trim the foam so that it's a little smaller than the box opening to allow space for the velvet. I also don't add glue to the corners at all. I only add a small line on the sides. The goal is to not pinch the down the foam anywhere to maintain the square shape. Trim the excess velvet on the corners too. Let me know if that helps! I can take some pictures when I make my next one if you would like!
 
Love these! So cute and creative!
 
Hmmm let's see... I trim the foam so that it's a little smaller than the box opening to allow space for the velvet. I also don't add glue to the corners at all. I only add a small line on the sides. The goal is to not pinch the down the foam anywhere to maintain the square shape. Trim the excess velvet on the corners too. Let me know if that helps! I can take some pictures when I make my next one if you would like!

Process photos would be very much appreciated if you wouldn't mind! What material did you use for the foam and interior lining of the lid? Your boxes turned out sooo neat and lovely! :love:
Do you know the mm thickness of the cardboard you used?
 
Hi Everyone!

I stumbled on this thread a couple weeks ago and have been having a lot of fun crafting these adorable boxes. There are some fantastic tips on this thread already and I just wanted to share some I've learned that might be helpful!

1. I found that the trick to have neater looking boxes is to make sure that the velvet is sewed to exactly to the right size which can be difficult. Game changer for me was when I started the use a binder clip to help me sew. You wrap the ribbon around and then use the binder clip to clip the ribbon and then sew. The added benefit is that your stitches will also be straight because the binder clip acts as a guide.

20180915_160648.jpg

2. I used a combination of hot glue and E6000 glue. The E6000 sets much slower so it gives you more time to adjust things to make everything neater. Also acetone gets the E6000 glue right off in case you smudge it on the fabric.

3. Trimming as much of the velvet as possible helped to keep the boxes from looking lumpy.

4. The boxes are cube shaped and the size is limited by the width of the ribbon. I used 1.5in ribbon and the exact measurements from fussikiki's instructions to make the smaller boxes. I bought some 2in ribbon and scaled everything up to make the larger box.

5. I made stencils so I wouldn't have to measure everything out every time.

20180917_173158.jpg

I am in awe of people like you. I couldn't craft my way out of a paper bag. Those boxes are magnificent! :love:
 
GET 3 FREE HCA RESULTS JOIN THE FORUM. ASK FOR HELP
Top